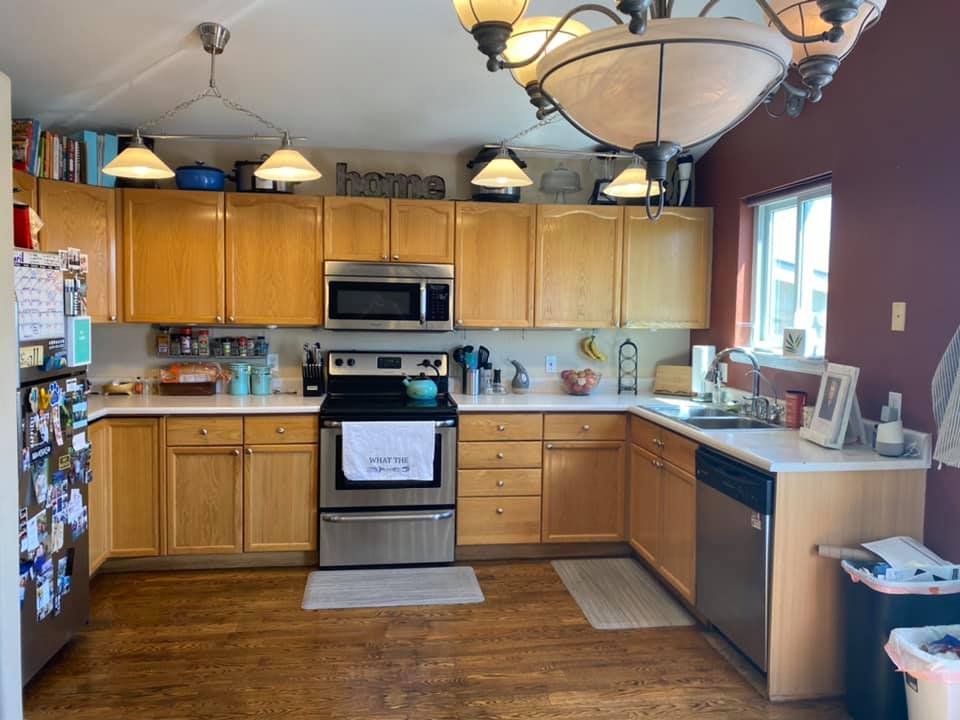
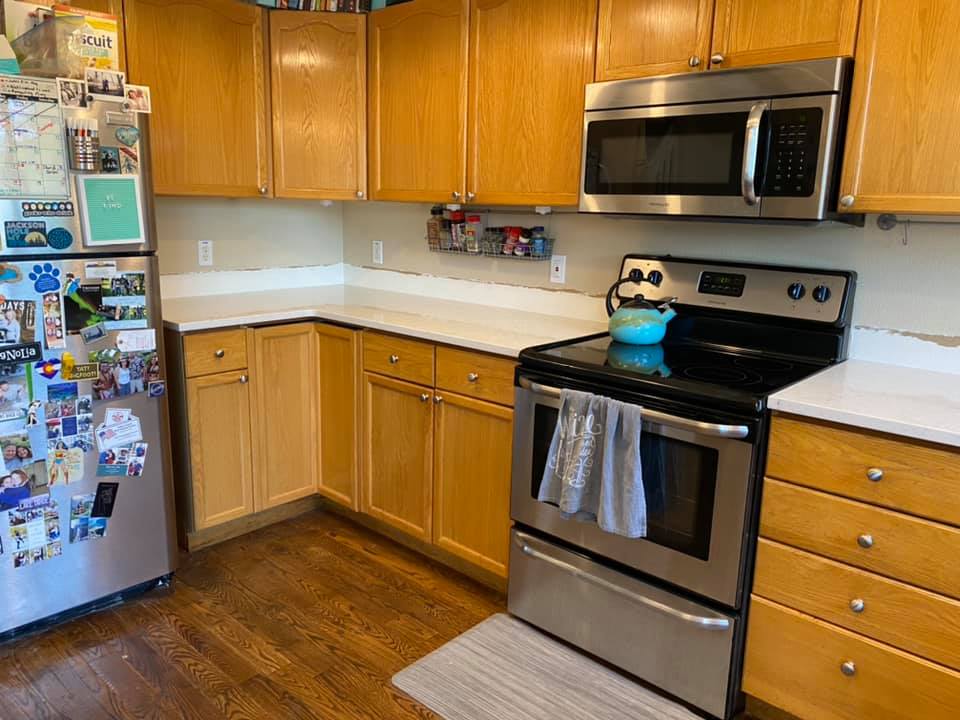
One of the few things I didn’t love about my new house was the kitchen. It was U-shaped, with little countertop space, and it was outdated. We’re talking 90s Formica countertops and oak cabinets. Not to mention, all the appliances were of the same era (and brand, even) as the appliances I’d replaced in my previous house.
Fortunately, we’d set aside some money for updates.
For as long as I’ve been a homeowner, I’ve dreamed of having a rustic/farmhouse kitchen with green cabinets. I just really love that look. One of our first hurdles to that dream kitchen was a 90s-era red accent wall in the kitchen and living room. Can’t have green cabinets with a red wall (unless you’re really into Christmas…).
My parents came out and helped us repaint those walls (thank you, Prebles!) and take care of a few other important projects (replacing toilets isn’t fun, but it was definitely necessary!).
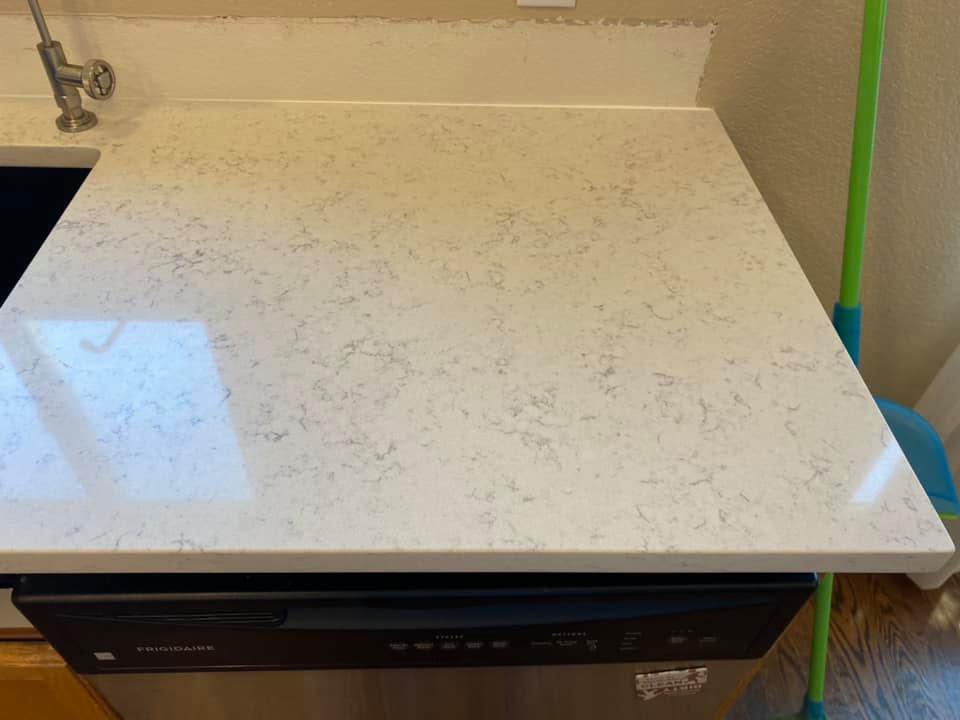
Not long after that, I ordered new quartz countertops. They were gorgeous!
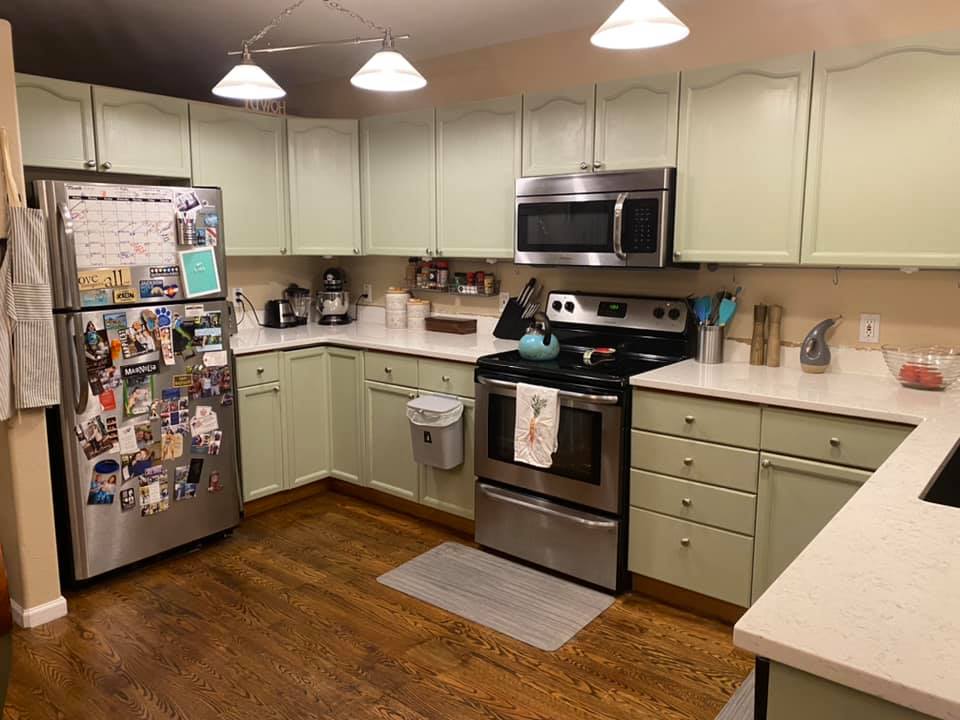
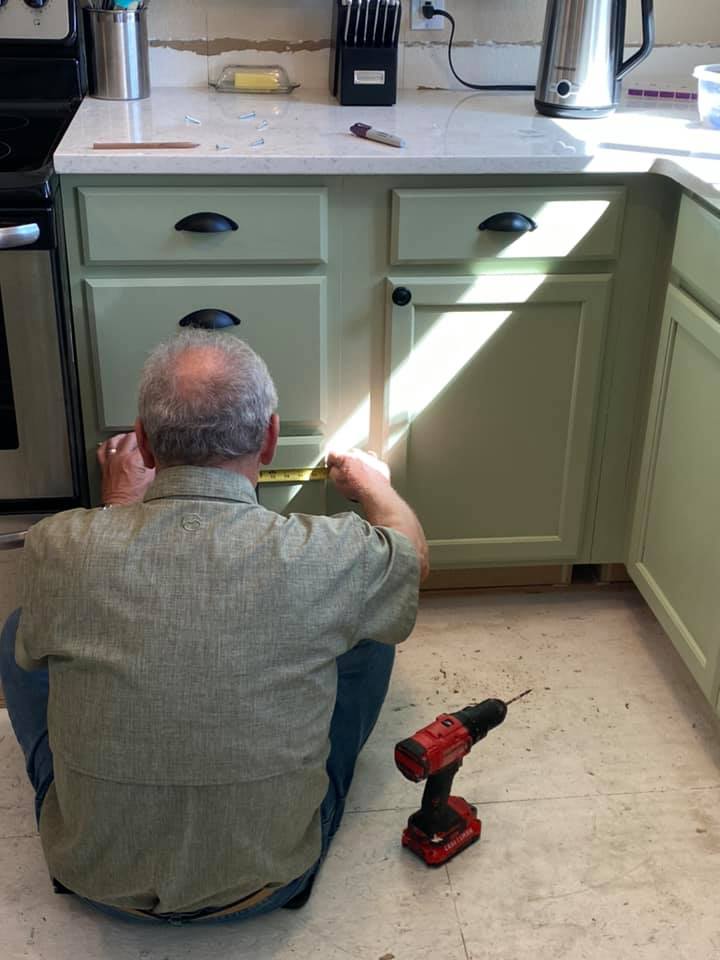
A couple months later, we were ready for the next step – painting the cabinets. Once again, the Prebles came out to help. (Have I mentioned I have the best parents? Because I totally do…)
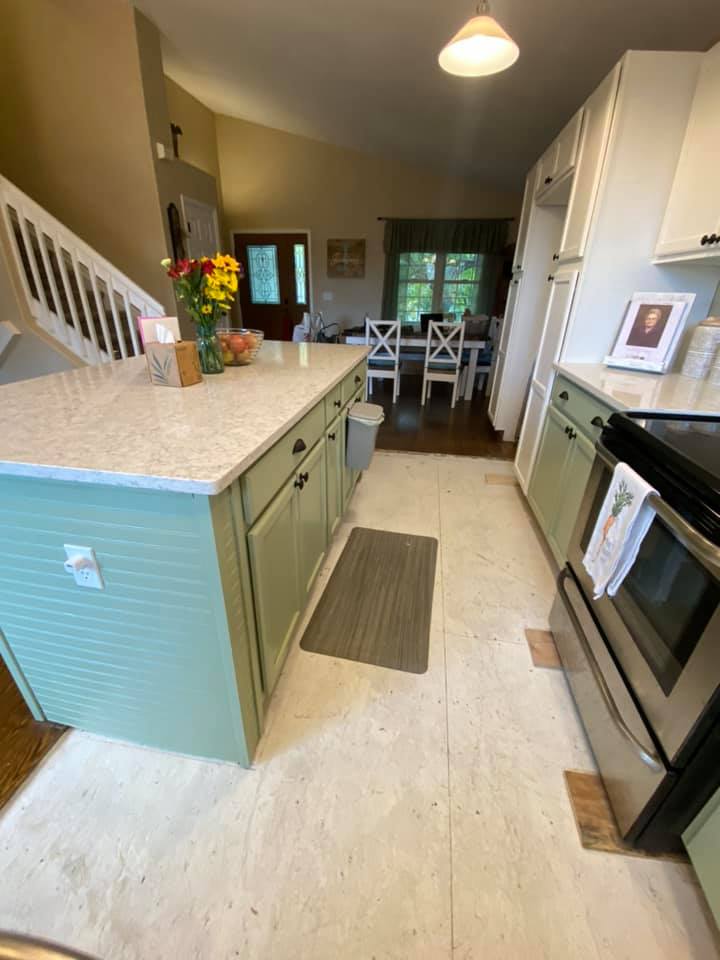
It was a long process, with a few bumps here and there, but we got it done. I had my green, farmhouse kitchen – although, the green paint turned out more mint than farmhouse… It was still better than that 90s oak, though.
I also remember thinking “Man, that’s A LOT of green. I didn’t think it would be overwhelming, but maybe it was a bit. I was committed, though, and I wasn’t going to repaint anytime soon!”
I had backsplash tile on backorder, and I wanted to have an island custom built for extra countertop space, but it was coming along nicely.
About a month after we finished painting, we had to go to Minnesota, unexpectedly, for Nick’s grandma’s funeral.
When we returned from the trip, something didn’t look right. My kitchen floor looked and felt wonky… what was going on? It soon became clear.
One of the previous homeowners had installed a water-filtration system to provide filtered water to the sink and refrigerator. It was in the corner of our kitchen, next to the sink, and they’d connected it to the fridge, which was across the room – never mind that there was a perfectly good water line on the floor, right next to the fridge. It was connected with a plastic tube that ran through my lower cabinets, behind the oven, around another corner (with a lazy Susan), and, finally, to the fridge.
The plastic tube had snagged on one of the lazy Susan’s shelves and bust open. Water had been leaking into the cabinet and, subsequently, the floor, while we were away. And if it wouldn’t have snagged there, it likely would’ve burnt through behind the oven – the industrial pool noodle they used to cover it didn’t cover everything, and there were burn marks on the tube.
I called a mitigation company straight away. They came out with dehumidifiers and drying mats, and it was a big mess. It wasn’t just the kitchen floor – they also had to remove a portion of the basement ceiling where moisture had dripped down.
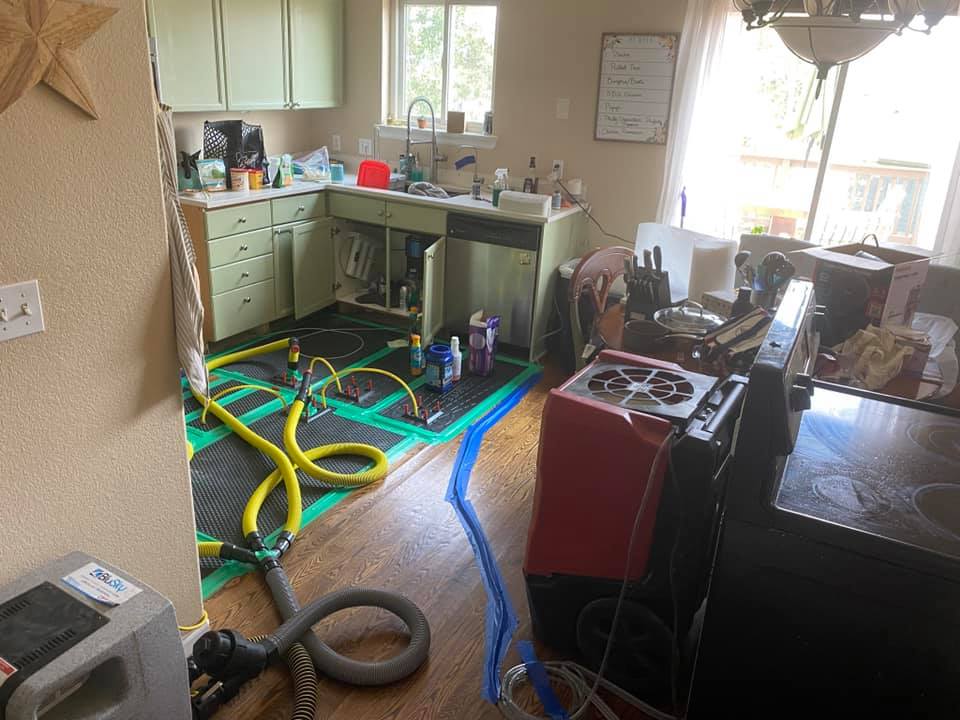
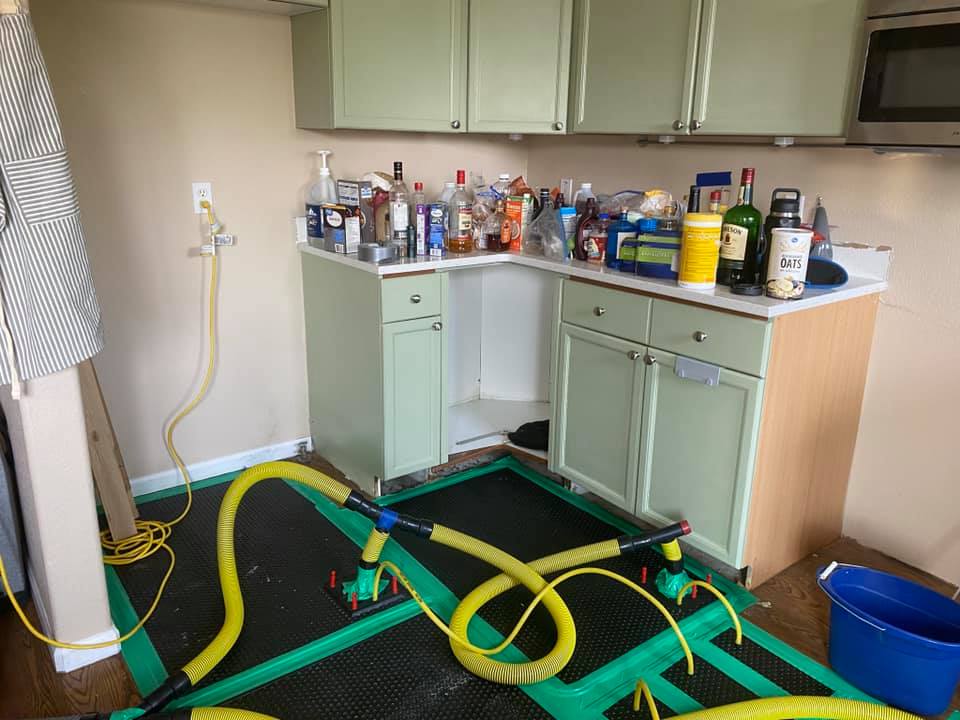

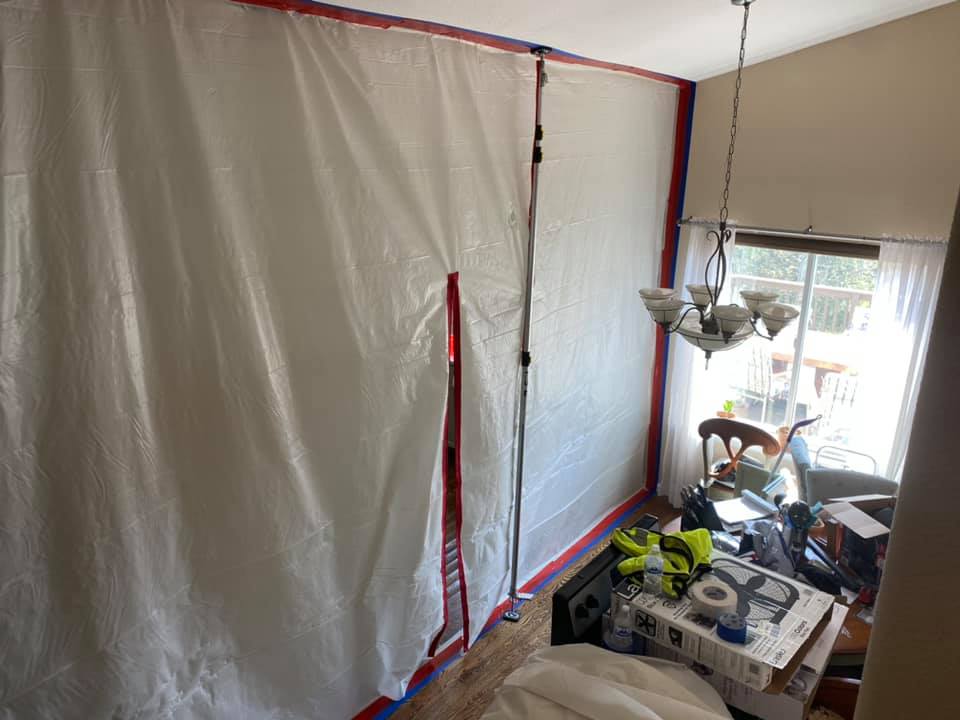
After days with the drying equipment, it became pretty clear most of the kitchen floor would need to be replaced. The company pulled up all the warped wood and set up a containment zone. (It looked like we were doing surgery on E.T., and you had to zip in and out of the kitchen…)
It took time to get everything going through insurance and to get the appropriate quotes we needed. For some of that time, I was able to use my kitchen. I used it until the mitigation company came out and removed the lower cabinets. They also removed some sections of drywall that had water damage.


While going through this process, I learned that a neighbor across the street rendered and installed countertops and had worked as a general contractor in the past. (Shoutout to Dan M.–I could not have gotten through this without your help!)
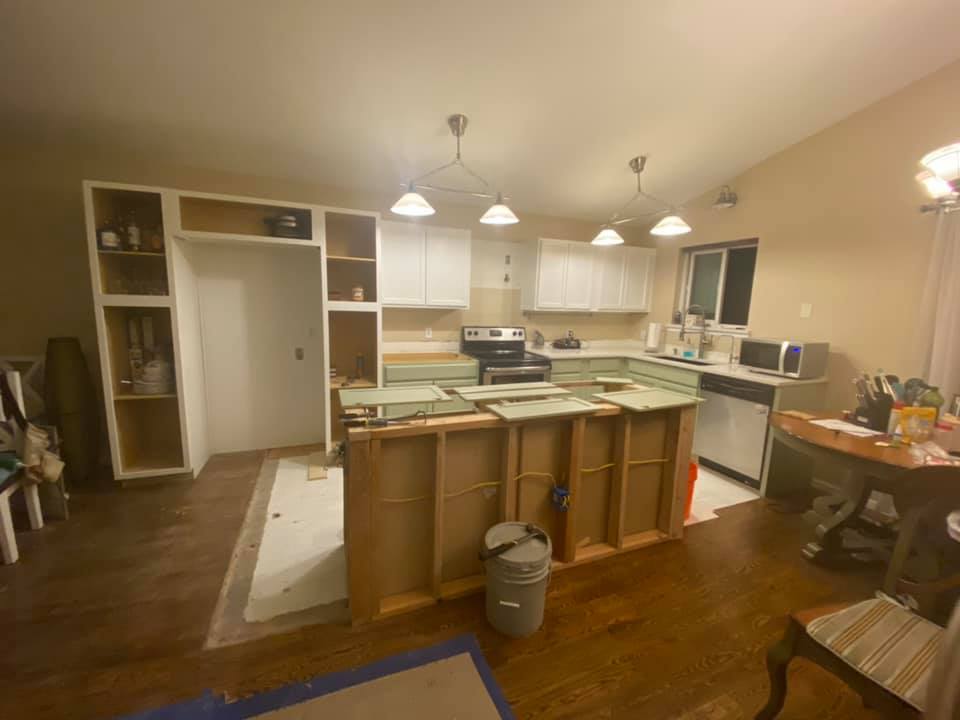
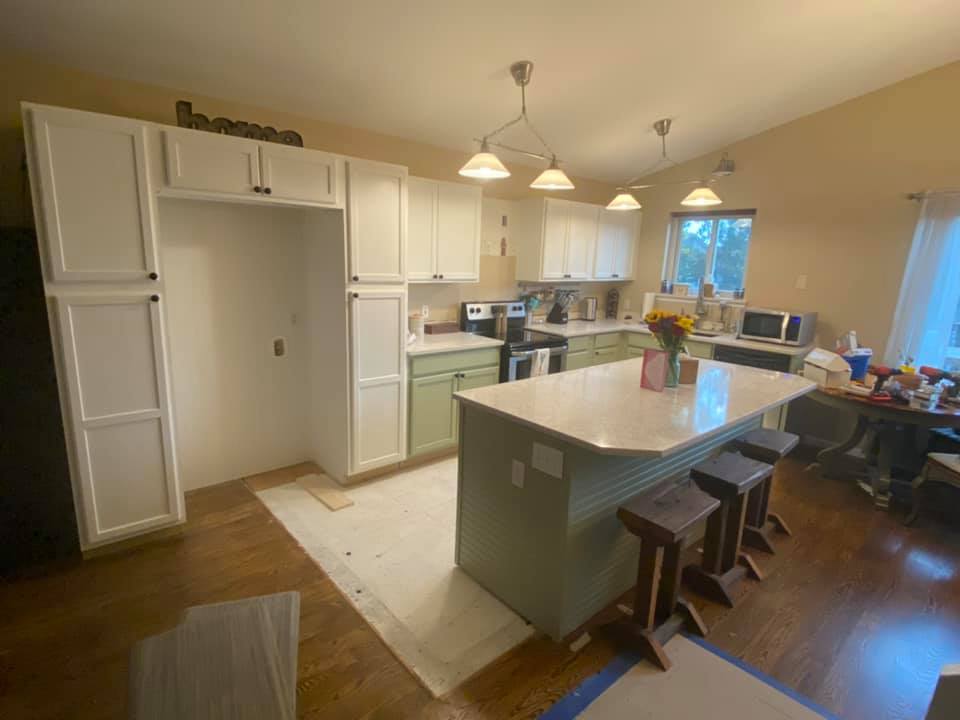
Dan talked me through my options. I could rebuild the kitchen as it was, or we could do some demo and make it even better. (Many Colorado homes built in the 90s feature an awkward living area on the other side of the kitchen, separated by a ¾ wall – you can see it in many of the images above). Dan suggested removing that wall, moving the fridge (which was where the oven is sitting in the above photo) to the back wall (with the microwave), and installing cabinets around the fridge. This option also allowed for a big island.
At first, I planned to rebuild the kitchen as it was. I’d had some concerns with demoing, and I didn’t want to lose those brand-new countertops.
Fortunately, I wouldn’t have to. Dan let me know they could be reconfigured to fit the new layout.
After seeing a home down the street where the same renovation was done, Nick and I were sold.
We were fortunate that the rebuild costs were covered by insurance. Discussing it with my claims agent, he recommended we invoice ourselves for any work we DIY’d. That was huge…
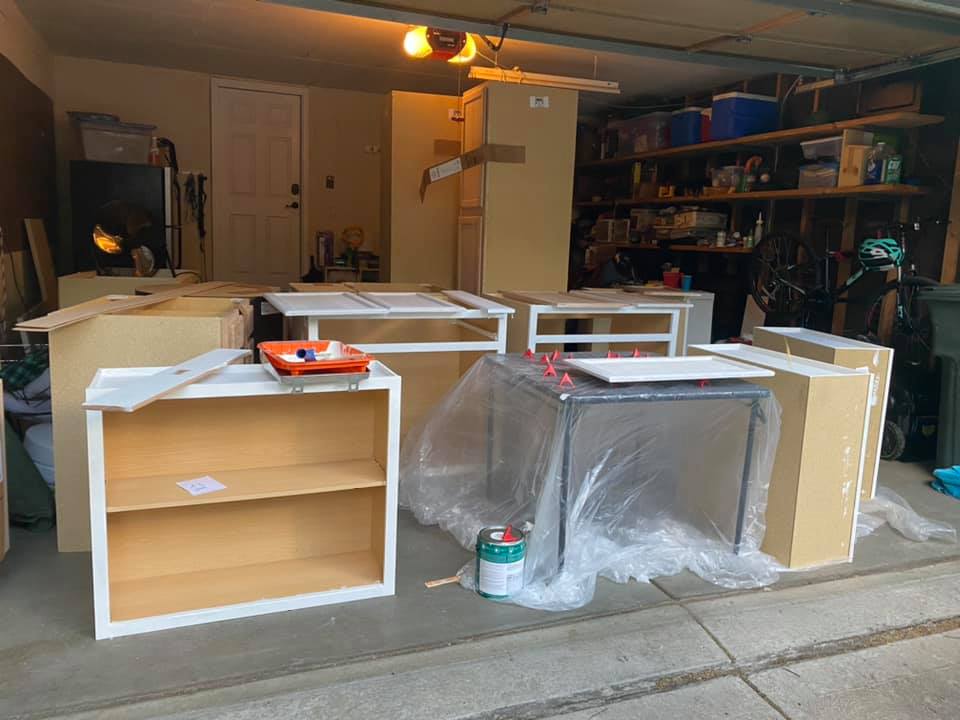
We got the ball rolling on the rebuild. I purchased unfinished cabinets from Lowes and started painting them when they arrived. (Boy was that a TON of work!)
Not long after, my parents came back out and helped us demo, rebuild, and paint and install those new cabinets. I tried finding a different shade of green because I didn’t want mint again, but I couldn’t find what I was looking for. Plus, I still had some from the original paint job left over.
I decided to go ahead and use the same paint, but I opted to do three coats instead of two, and I used a different primer specifically made for the cabinet paint. Boy, did that make a difference.
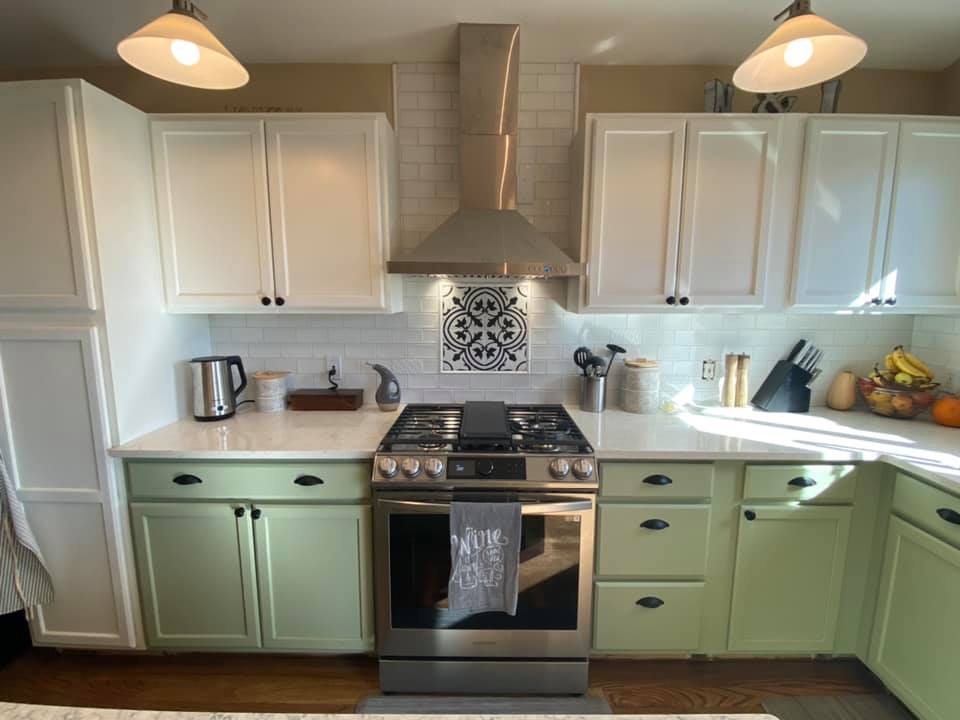
The one thing I did opt to change with the paint was to do two-tone. (I learned my lesson once by being overwhelmed by green!) The upper cabinets and tall pantry cabinets would be white, and the lower cabinets and island cabinets would be green.
My dad is a pretty awesome handyman and worked construction with his father when he was younger. Being able to benefit from his experience was invaluable!
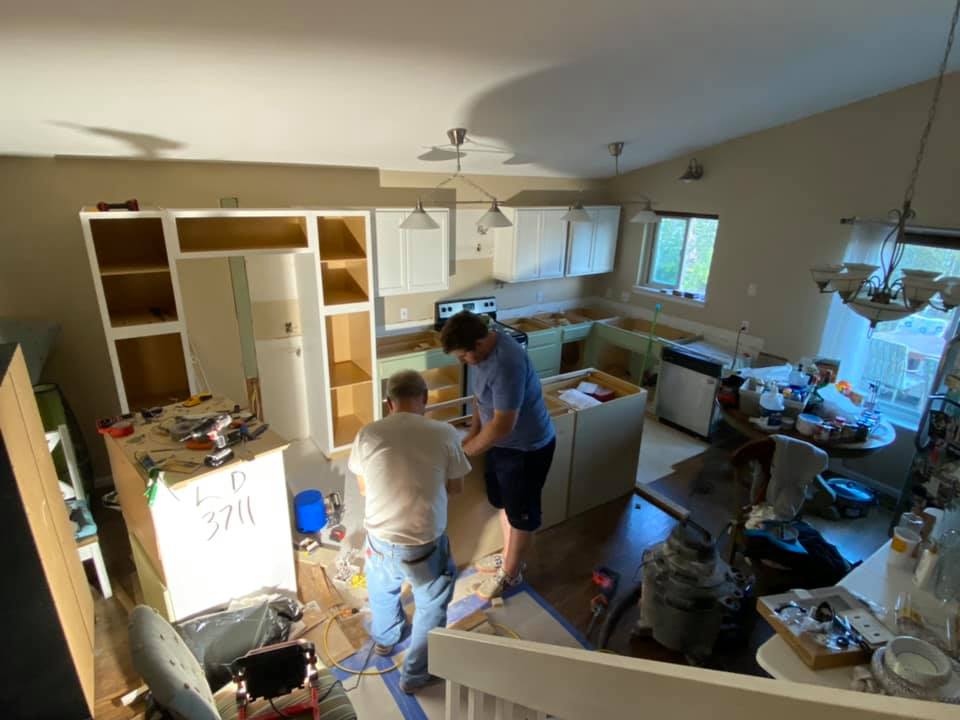
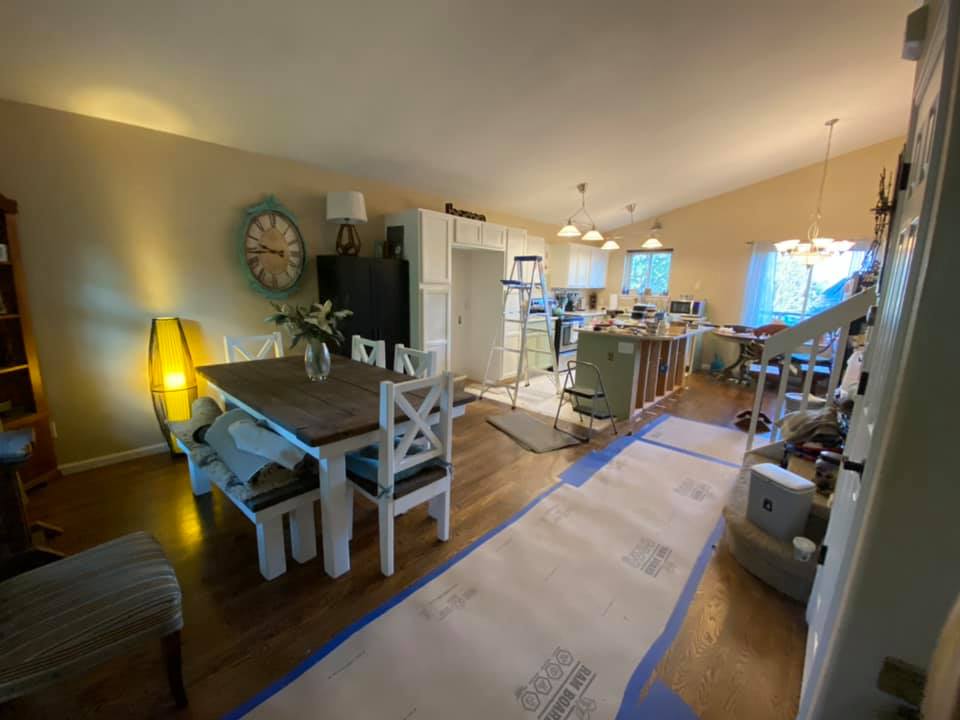
It was a lot of work over a week-and-a-half period, but man was it worth it! I had a new kitchen, and it was my dream kitchen!
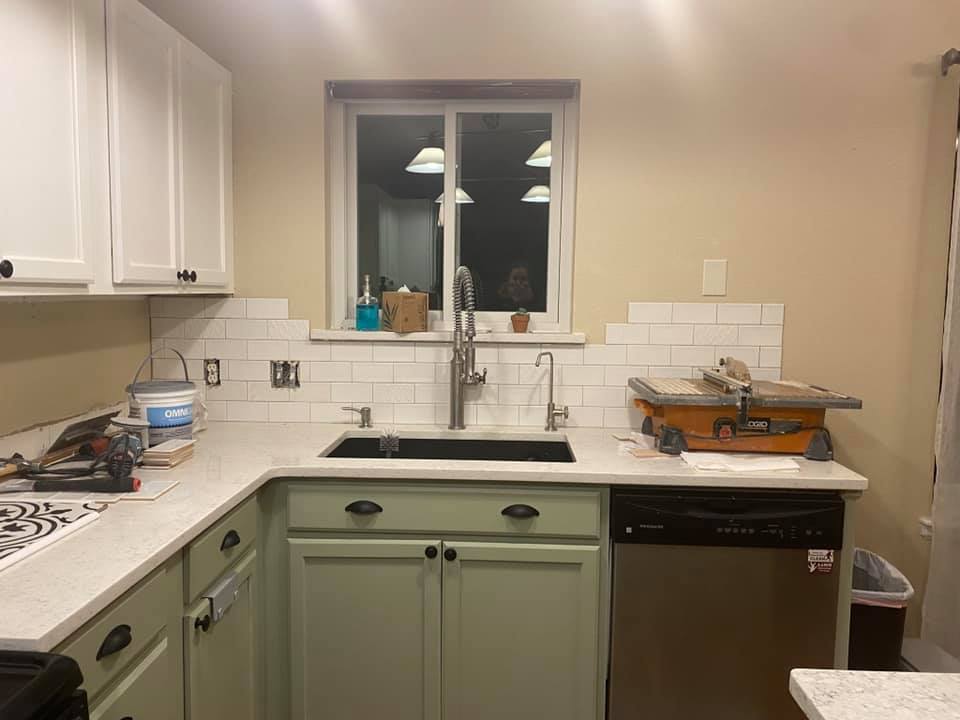
There were still a few items to finish after the main rebuild – like installing a vent hood for the stove, installing a backsplash, finding a microwave cabinet, and restoring/refinishing the floor, but everything was done in just a few months.

Looking back now, the leak was a blessing. Everything that had to be done to mitigate the moisture made it easier and cheaper to do other things – like move electrical outlets and the old water line and install a gas line for a new stove. (For those who don’t know, cooking is my love language, and I really don’t like electric stoves.)
In the end, by doing most of the work ourselves (and paying ourselves for that work), I was even able to buy new appliances.
I really can’t imagine trying to handle the leak, demo, and rebuild, all the while trying more fertility procedures. It would’ve just been way too much.
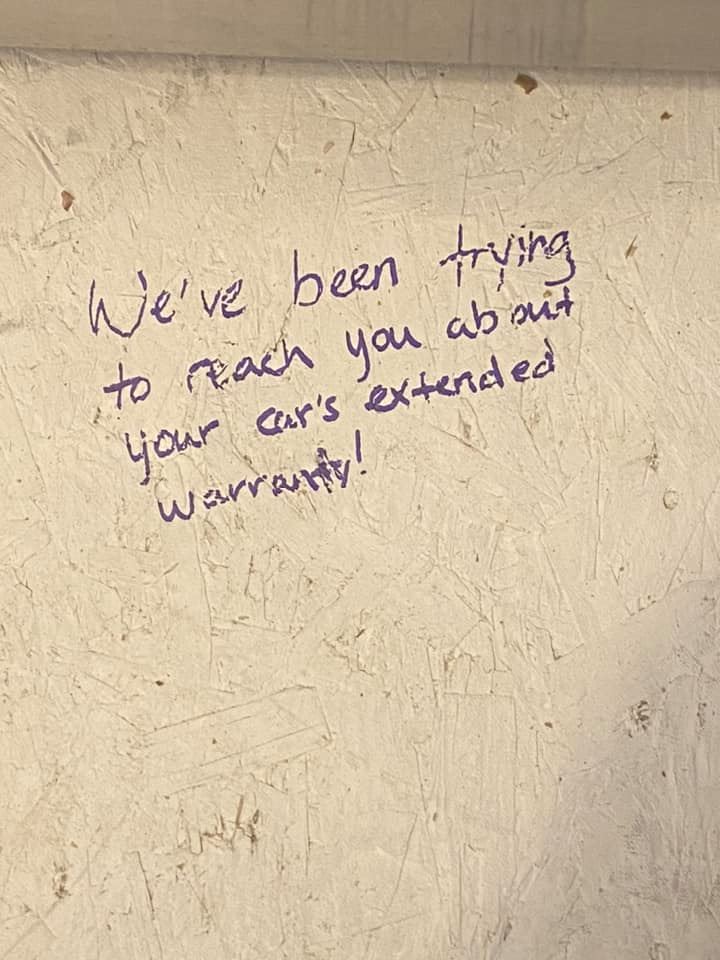
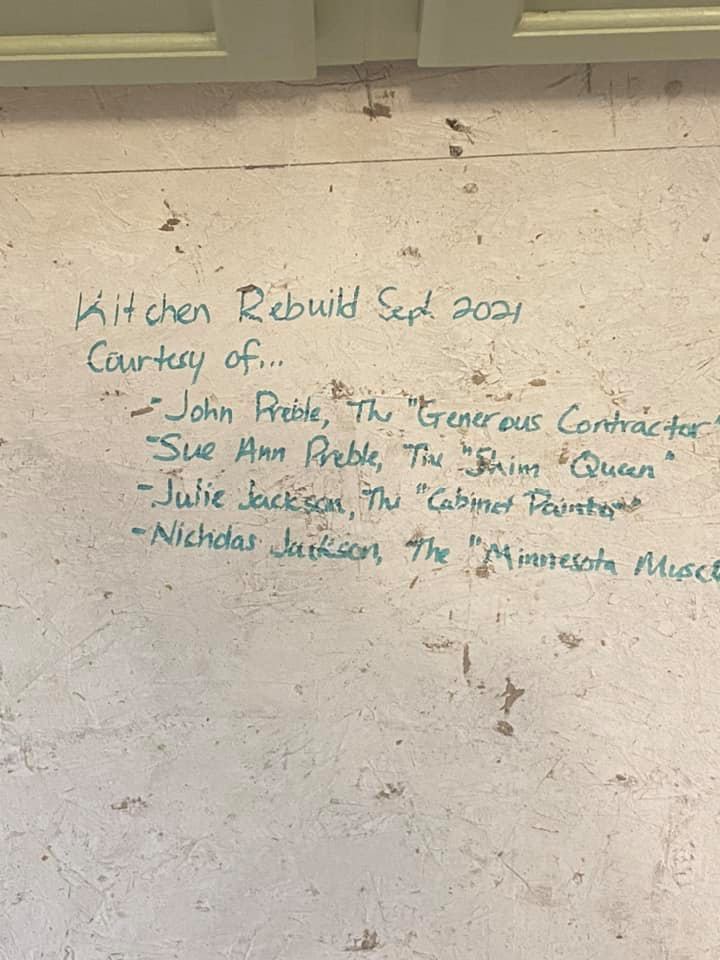
And just for kicks and giggles, we may have left the future homeowners some fun little notes on the subfloor…
But now that you know what we were dealing with, it’s time to get back to our main focus.
